| Time Required: | Difficulty: |
Tools Required
- Safety glasses

- Phillips-head screw driver (or screw gun)

- Metal shears

- A pencil

Materials Required
- An astragal site pack
Steps to complete
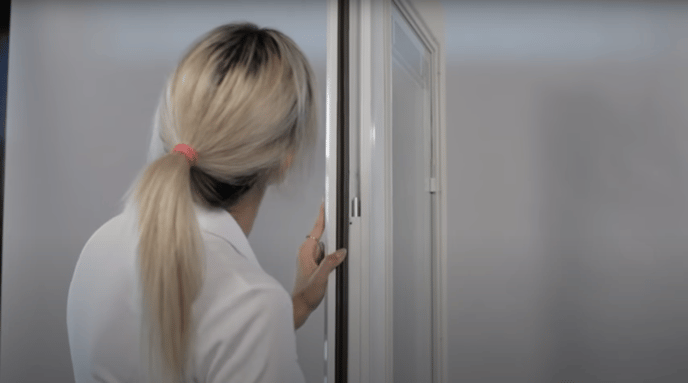
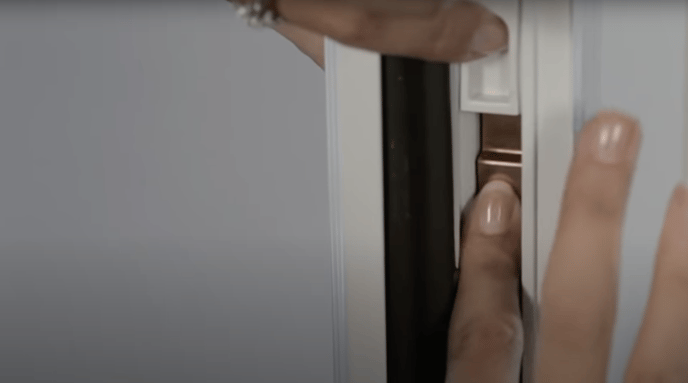
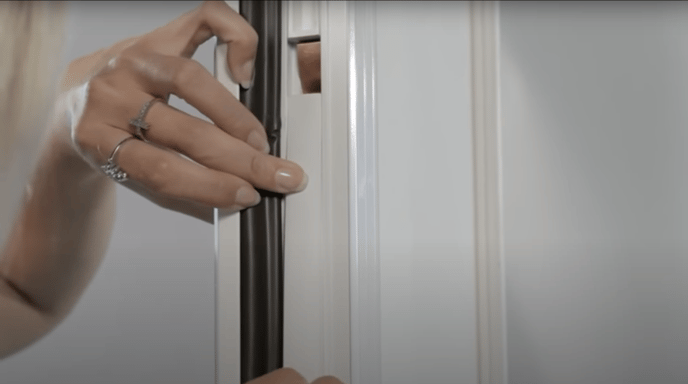
1) Locate and remove astragal snap-in trim cover
Step 1) Locate and remove astragal snap-in trim cover
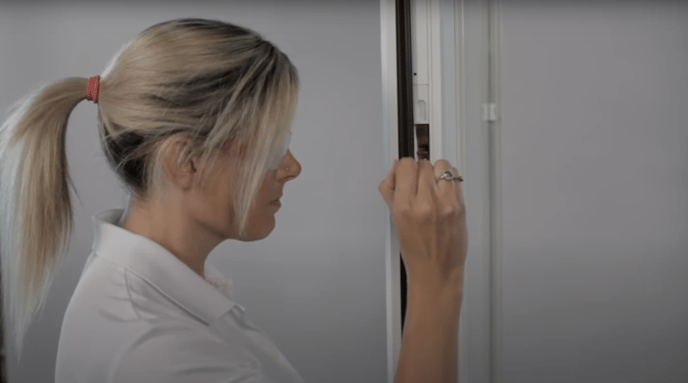
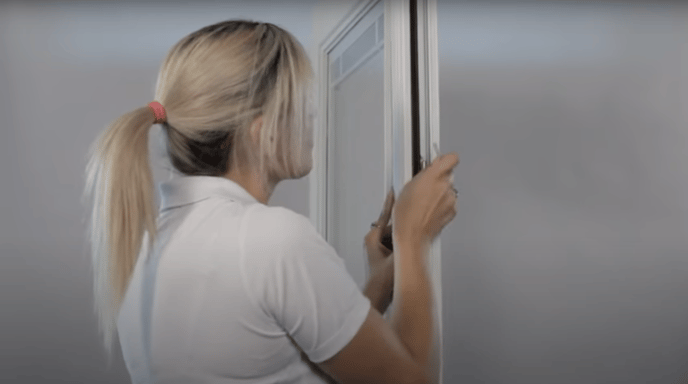
Locate the top of the astragal trim piece of the door. Pull it away using your index finger and thumb.
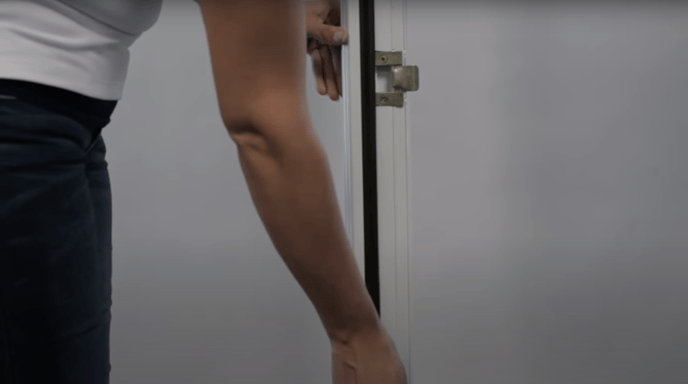
Do the same to the remaining pieces along the entire length of the astragal.
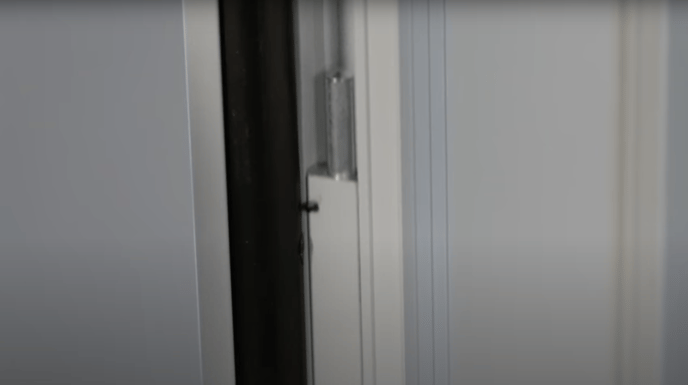
Step 2) Loosen slide bolt covers
On the top slide bolt cover, loosen the top and bottom set screws using the Allen wrench provided in the site pack.
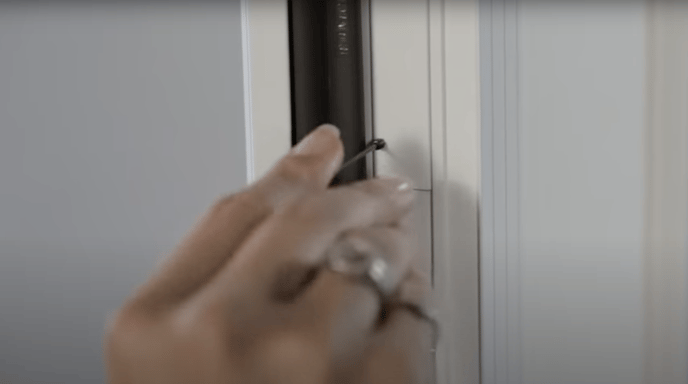
Step 3) Remove bolt spring
Using the Phillips-head screwdriver (or screw gun) loosen the bolt spring screw.

Then carefully remove the screw by hand, allowing the cover to slide down. Repeat this process for the bottom spring bolt, but slide the bolt upward.
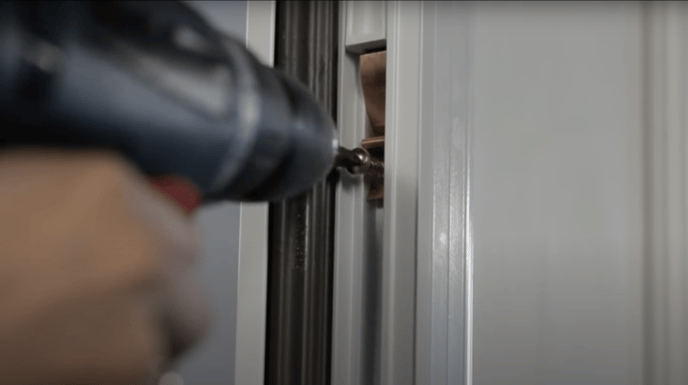
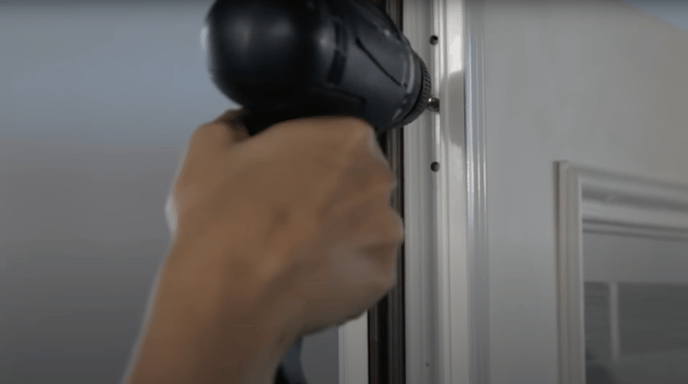
Step 4) Remove astragal screws and astragal
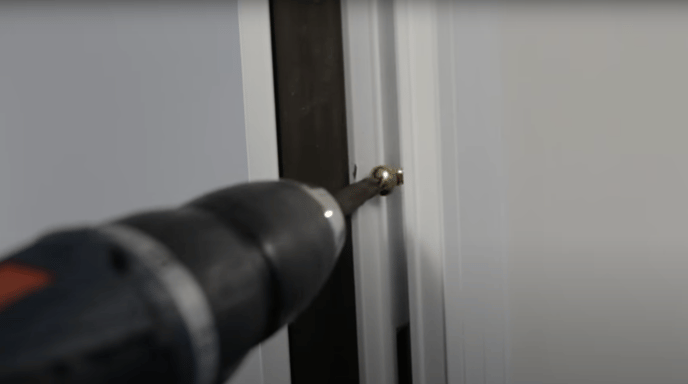
Starting from the bottom, remove the remaining screws within the astragal.
Upon removing the final top screw, carefully pull the astragal away from the door.
Step 5) Attach new astragal
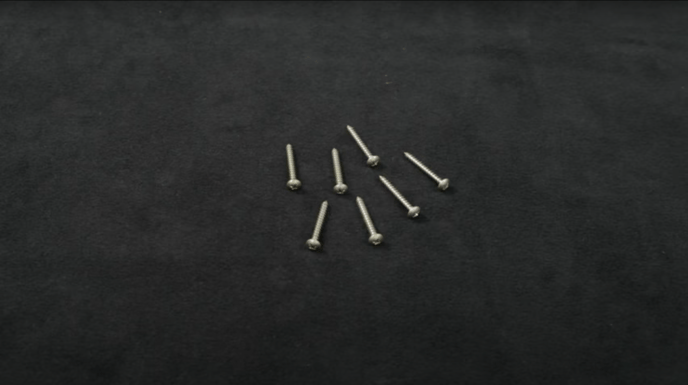
Locate the #10 1.5-inch panhead screws provided in the site pack.
Align the pre-punched holes on the new astragal with the holes on the door.
Attach the astragal at the top and bottom with the screws beneath the bolt covers.
Next, slide the top slide bolt into position.
Then replace the bolt spring and screw. Repeat this process with the cover at the bottom.
Lastly, tighten the two small set screws at the top and bottom.
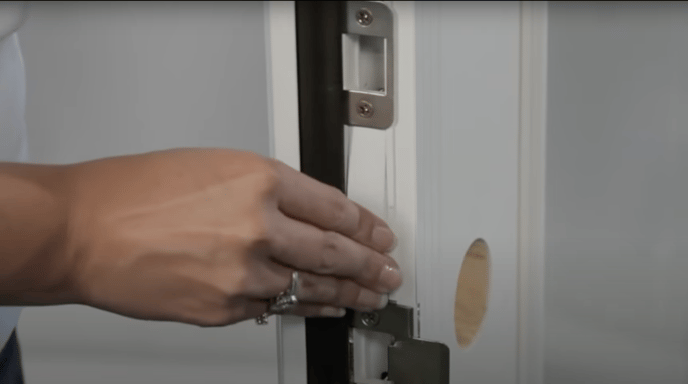
Step 6) Fasten strike plates
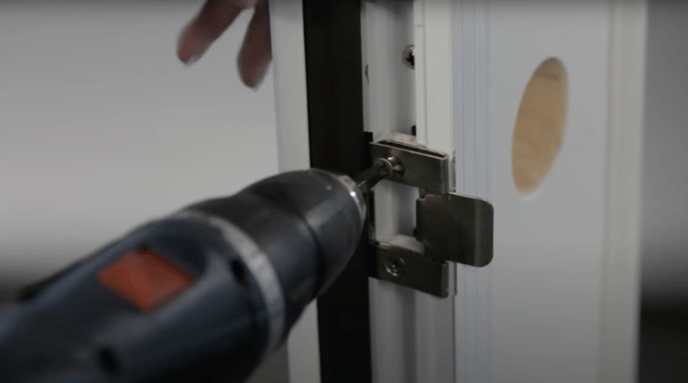
Center and fasten the strike plate to the door with 2 #7 1.5-inch screws provided in the site pack.
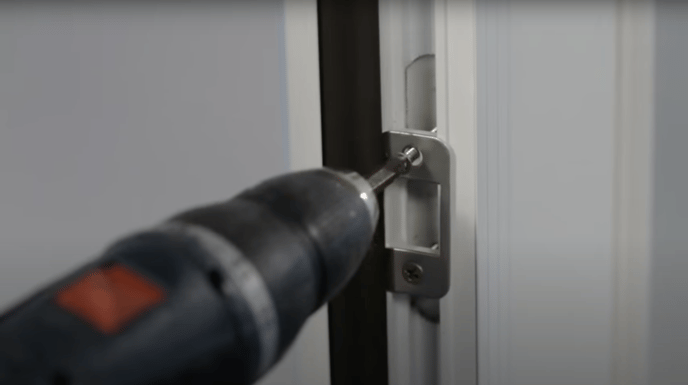
If a deadbolt is used, locate the center of the deadbolt and place the guide. Then secure the deadbolt plate with 2 #7 1.5-inch screws.
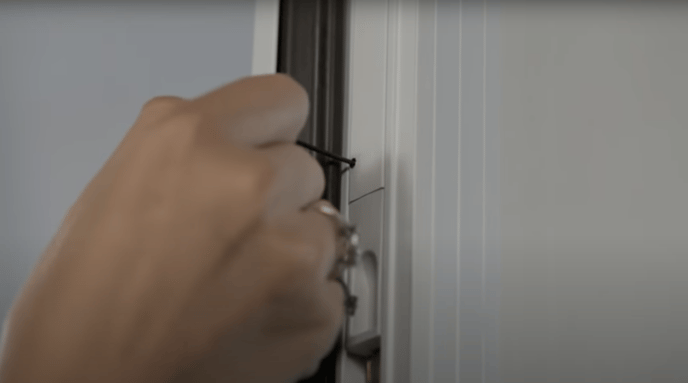
Step 7) Cut trim cover to length
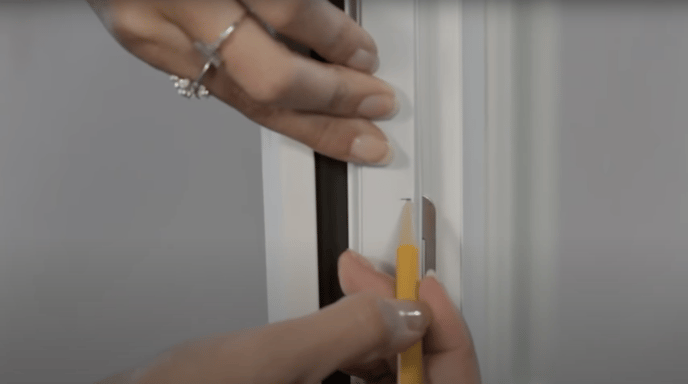
If you're not using the old trim, insert the new trim at the top of the channel, then put a mark on the new trim at the top and bottom of the strike plate and dead bolt.

Using the metal shears, cut at your marks to size the new trim pieces.
Then replace the new trim cover in the astragal.
Repeat the process all the way down the length of the astragal.