Tools Required
- Safety Glasses

- Hex Wrench

- Pliers

Materials Required
Step 1) Determine the Number of Spring Loaded Hinges
The middle hinge is typically the spring loaded, but could be the lower depending on the configuration.
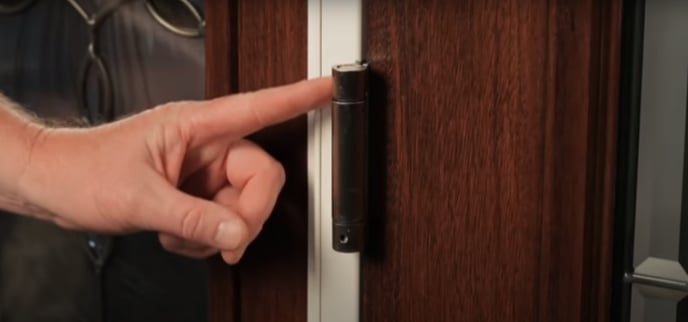
Step 2) Locate the Hex Adjustment Hole
The Hex adjustment may be on the top or bottom, depending on the handing of unit.
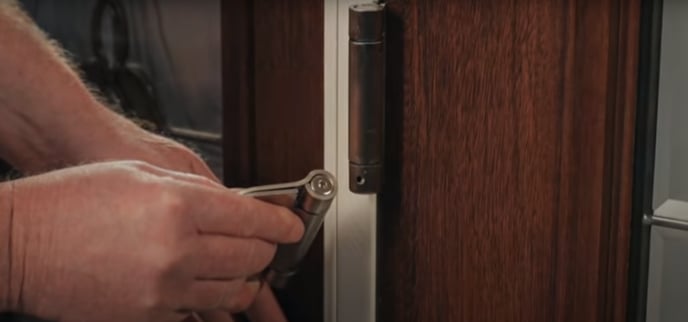
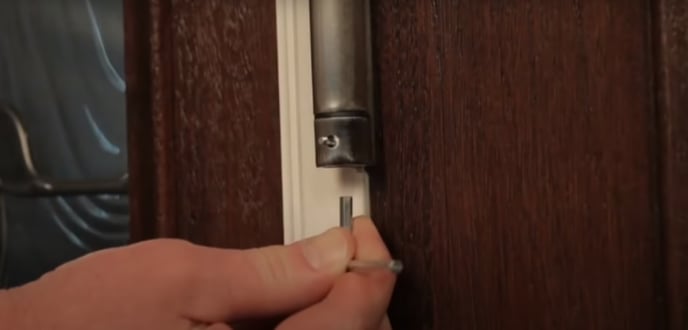
Step 3) Insert Allen Wrench
With the door closed, insert the allen wrench into the hex adjustment hole.
Step 4) Adjust Tension
If the adjustment end is up - turn the hex key clockwise
If the adjustment end is down - turn the hex key counter-clockwise to the desired tension.
Adjust the hinge to the minimum tension required to close and latch the door.
NOTE: To much tension will reduce the life of the spring
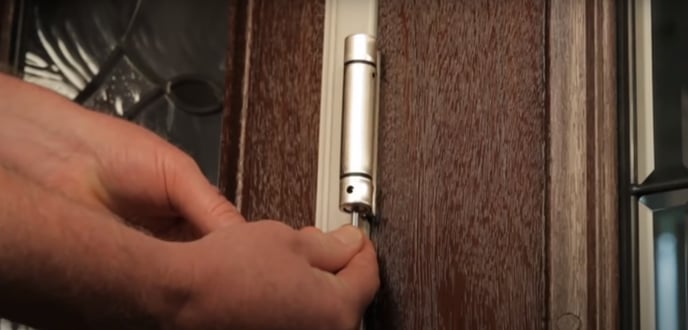
Step 5) Insert the Cross Pin
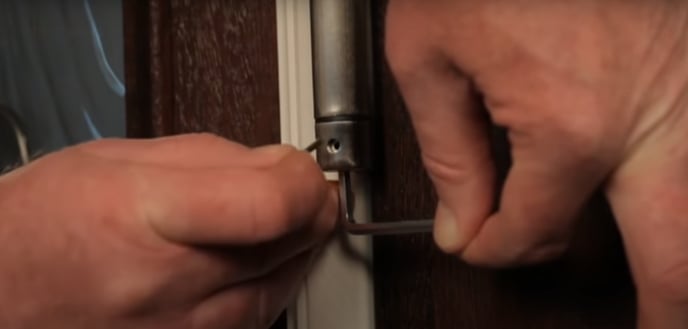
Insert the cross ping when the hole and center stud and hinge knuckle line up. Slowly release the pressure on the hex key.
Step 6) Remove Hex Key
Remove the hex key and test the closing of the door.
REPEAT STEPS 2-6 to increase the spring tension if necessary.
Step 7) Snip off the Cross Pin
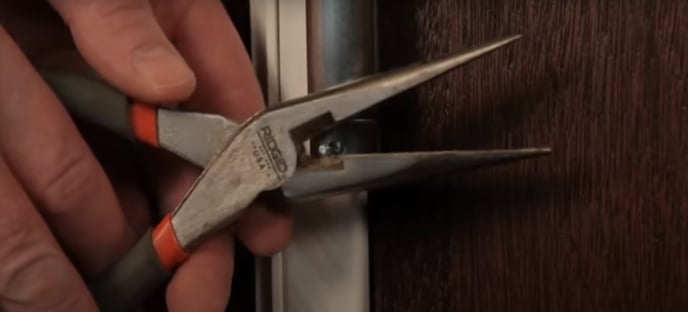
Once your adjustments are complete, snip off the cross pin at the breakaway head to make the tension and adjustment complete.
NOTE: Once the cross pin is snipped, no further adjustment can be made.