Follow our helpful process here to make your next project a success and ensure your door installation goes smoothly.
| Time Required: | Difficulty: |
Tools Required
- Safety glasses

- 2-foot level

- 6-foot level

- Tape measure (at least 10 ft)

Steps to complete
1) Check that the unit is plumb (internal jamb)
2) Check that the unit is plumb (exterior jamb)
Step 1) Check that the unit is plumb (internal jamb)
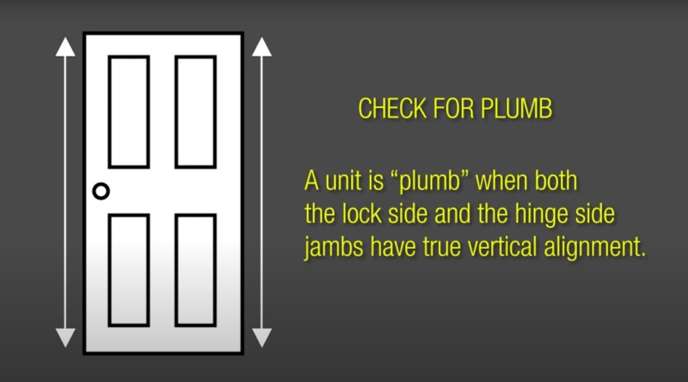
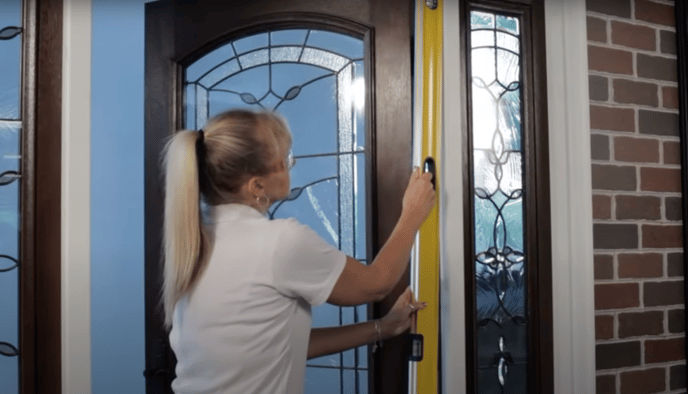
Start by opening the door, and placing the 6-foot level along the internal jamb.
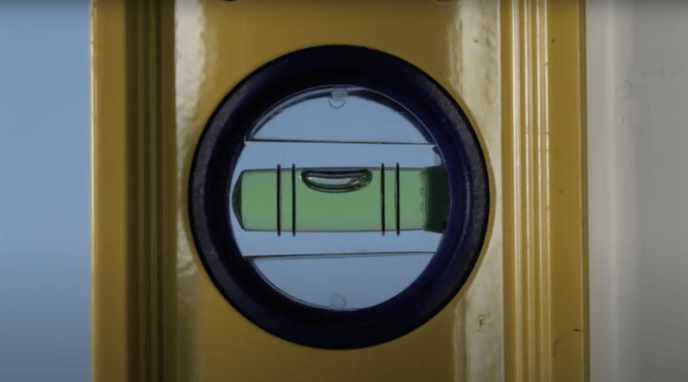
The jamb is level if the measurement shown above reflects your own level.

Repeat the process on the opposite jamb.
Step 2) Check that the unit is plumb (exterior jamb)
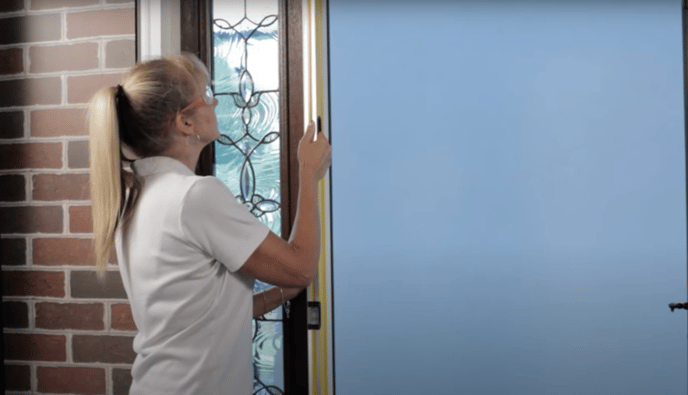
Place the 6 foot level along the exterior jamb, the side running parallel to the face of your door.

Ensure that the jamb is level.
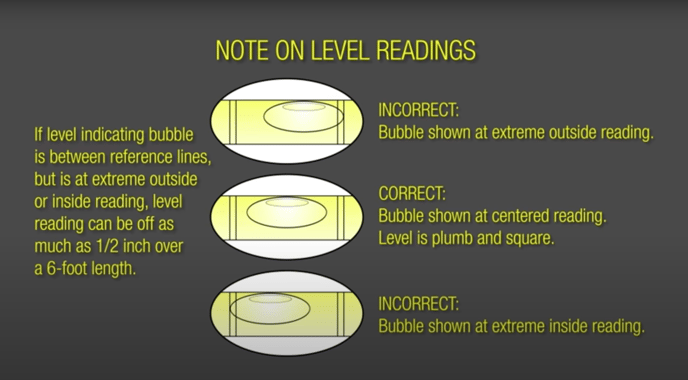
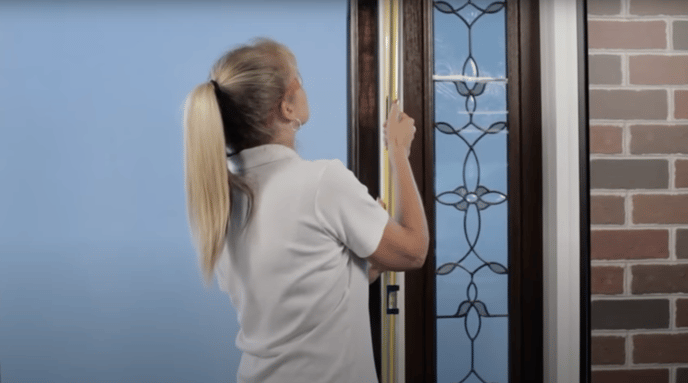
Repeat this process on the opposite exterior jamb.
Step 3) Check head jamb for level
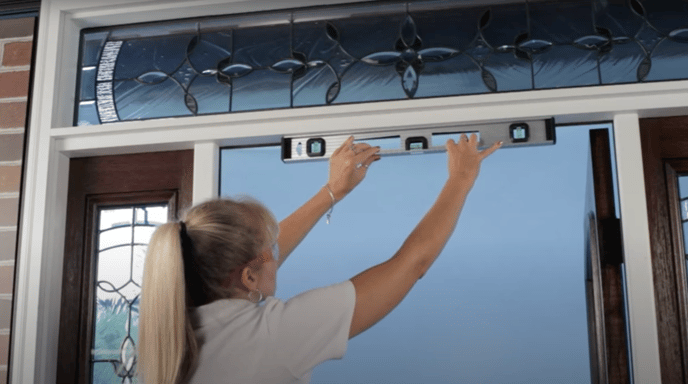
Place the 2-foot level against the head jamb to check the level.
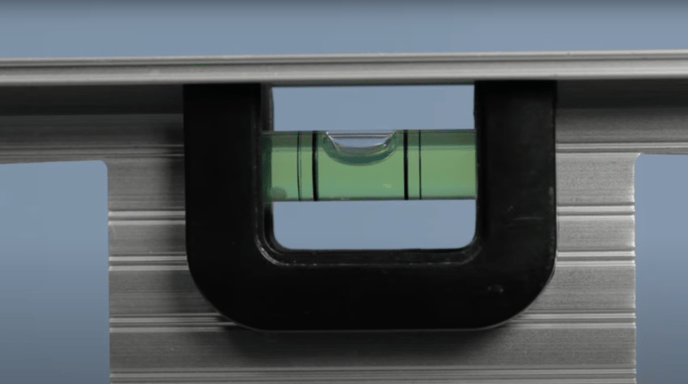
If the head jamb is level, it will look like this.
Step 4) Check the sill (threshold) for level
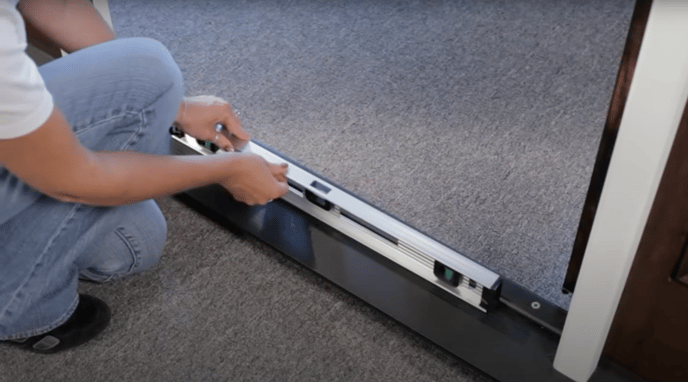
Place the 2-foot level against the sill of the door to check if it is level.

If the sill is level, it should look like this.
Step 5) Check for square with diagonal measurements
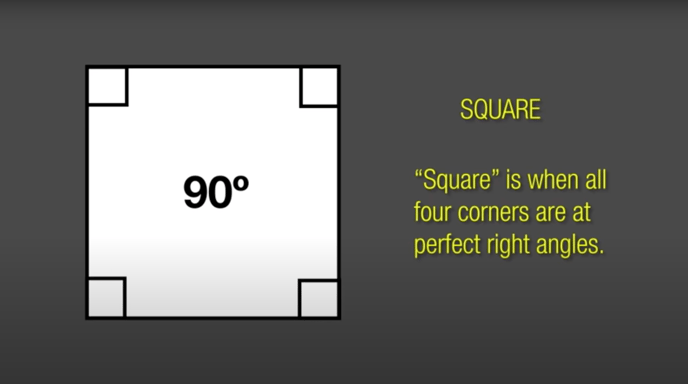
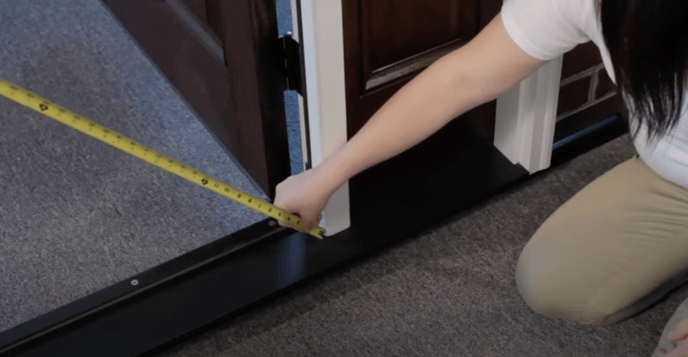
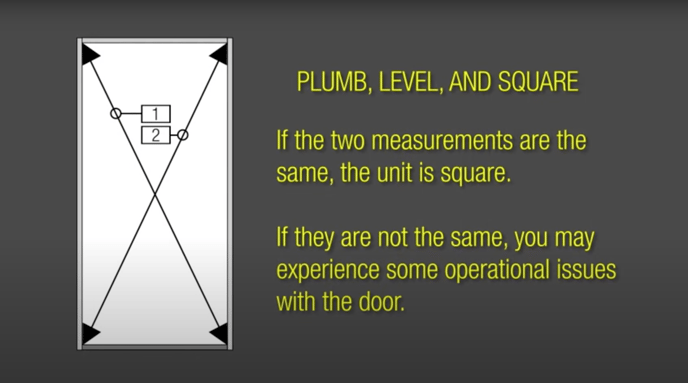
You may need a partner to accomplish this task. Place the end of the tapemasure in the corner of the doorway where the jamb and sill meet.
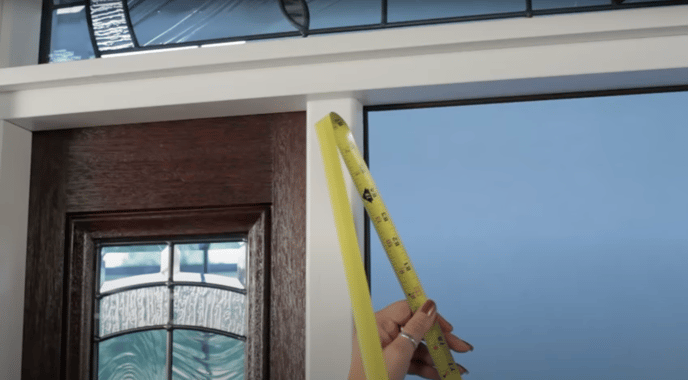
Then extend the tape measure diagonally across the doorway to measure the distance across in the opposite corner where the head jamb and opposite jamb meet.
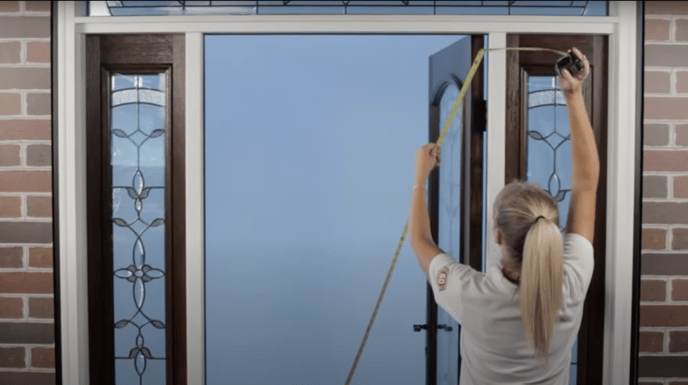
Repeat this process in the opposite corners to get the second measurement. Your unit is square if both measurements are the same.
