Follow our helpful process here to make your next project a success and to ensure your door is properly secured.
Time Required: Under 1 hour Difficulty: Intermediate
Tools Required
- Phillips head screwdriver

- Allen wrench

Materials Required
- Lock cylinder
- Cylinder screw
- Nylon bushing
- Interior & Exterior back plate
- Gaskets
- Lever handles
- Set screws
- Handle set shaft
- Phillips head screws
Steps to complete
Step 1) Install back plates
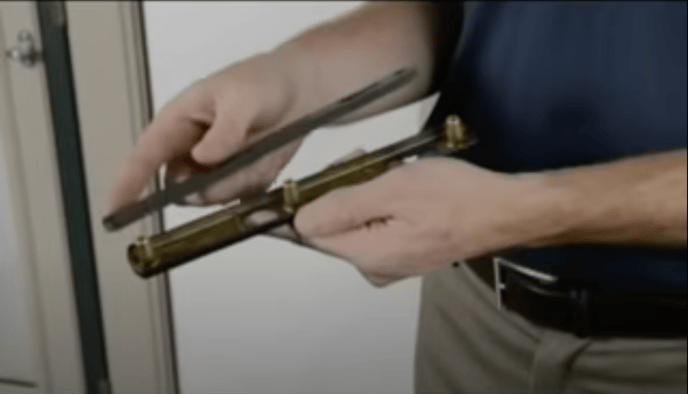
Begin by installing the gaskets to the backs of the interior and exterior back plates.

Then install the interior and exterior backplates to the door using the Phillips head screws. Do not tighten all the way down.
Step 2) Install nylon bushings

Install the O-shaped nylon bushings into both backplates by pressing them flush with your thumbs.
Step 3) Install handles
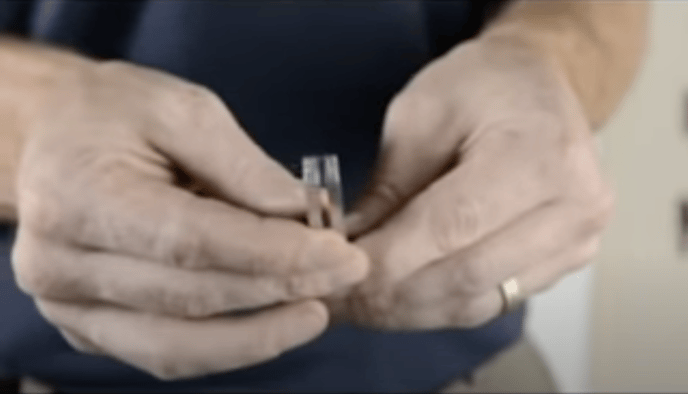
To install the handle set, first begin by assembling the handle set shafts.
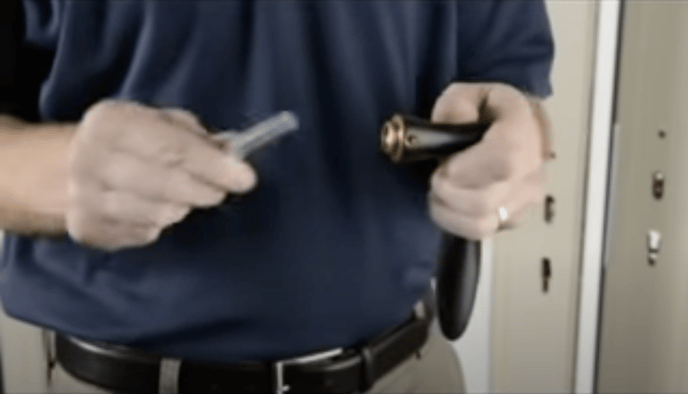
Then, insert the handle shaft into the interior lever handle. Ensure that the heart-shaped piece faces the set screw hole to ensure proper seating.
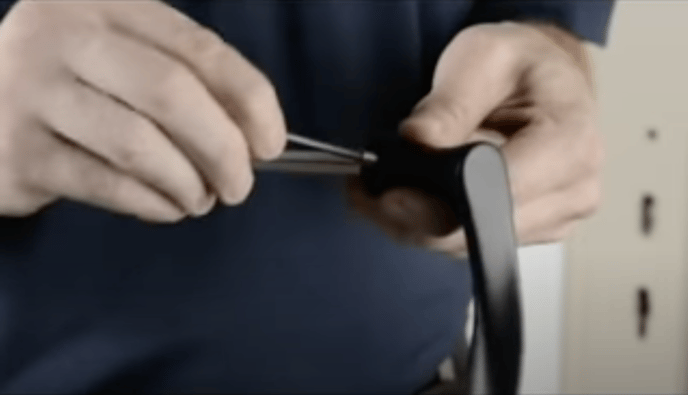
Now insert and tighten the set screw. The set screw should be flush with the handle if properly seated.
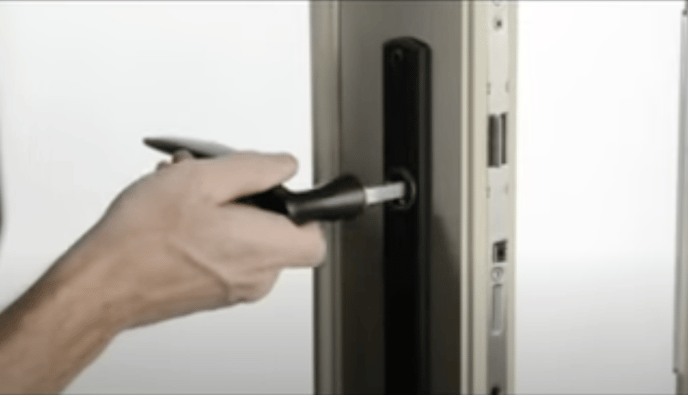
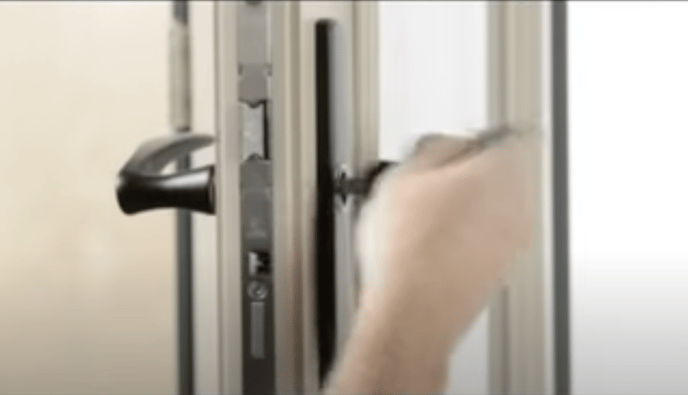
Now install the handle into the door, and attach the opposite lever handle. Be sure to tighten the set screw on the opposite handle as well once installed.
Step 4) Install deadbolt
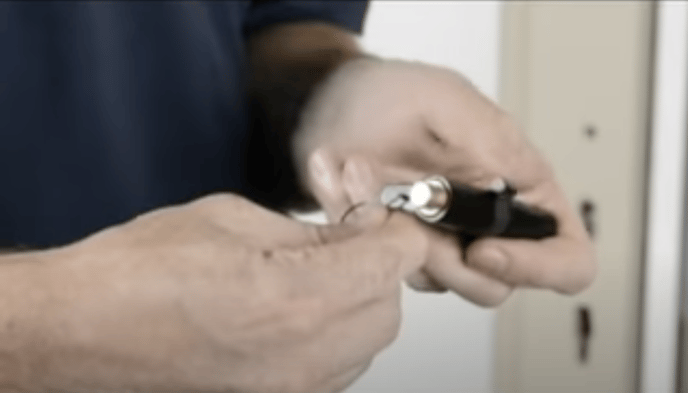
Install the ring wrench into the deadbolt to move the deadbolt into the open position.
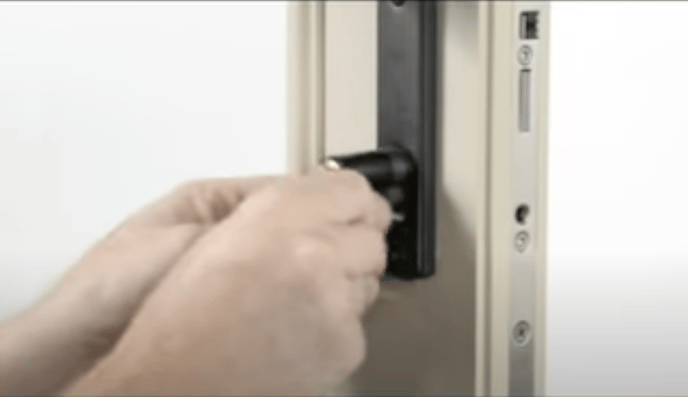
Insert the deadbolt cylinder into it's opening on the door.
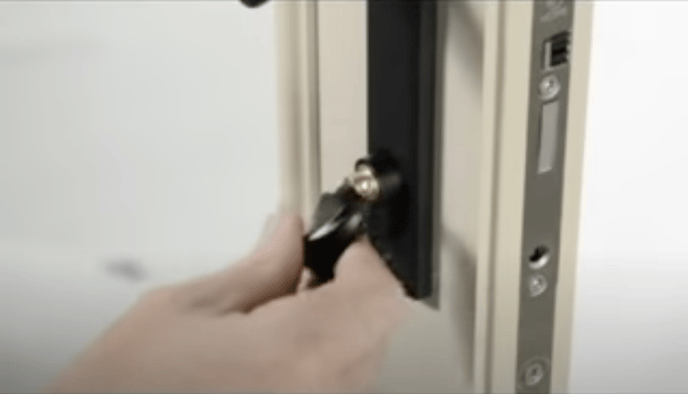
Next, attach the thumb-turn with the set screw provided.
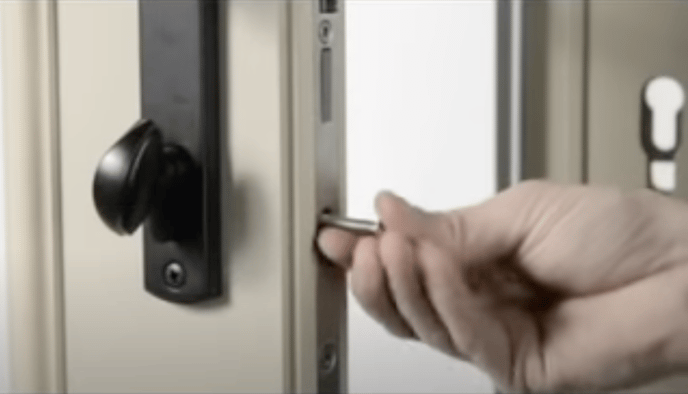
Now, insert the cylinder screw and tighten completely.
Step 5) Finishing touches
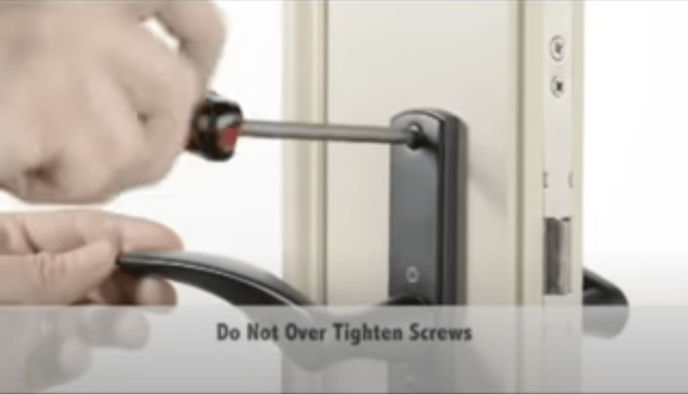
Tighten the backplate screws completely, and remove the shipping clip from the deadbolt. The installation is not handed so it can be installed on any door. Your installation is now complete.
