Follow our helpful process here to make your next project a success and to ensure your door is properly secured.
Tools Required
- Safety glasses

- Phillips head screwdriver

- Ring wrench (or paper clip)
- Allen wrench

Materials Required
- New thumbturn
- New cylinder
Steps to complete
Step 1) Remove cylinder screw
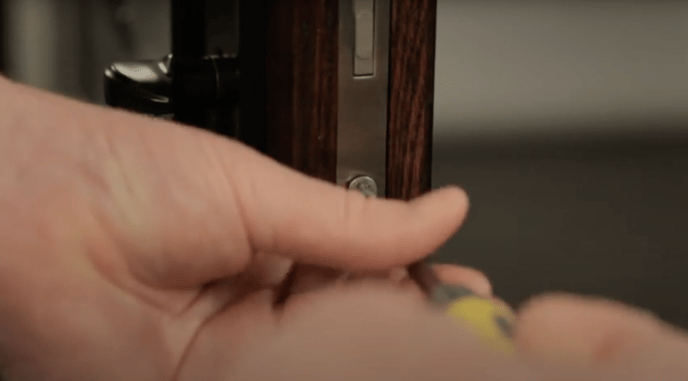
Use the Phillips head screwdriver to remove the cylinder screw on the side of the locking mechanism.
Step 2) Remove thumbturn
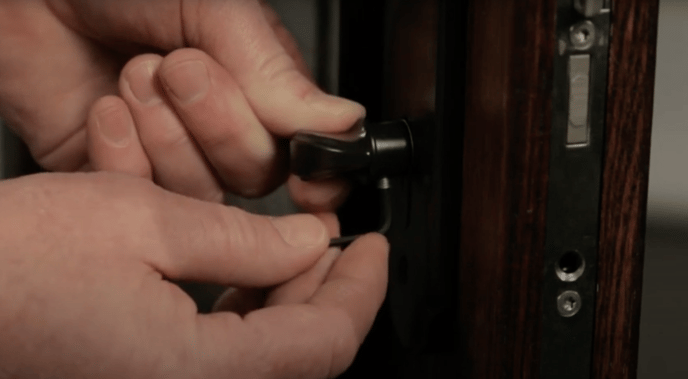
Using the allen wrench, loosen the set screw and pull the thumbturn from the cylinder.
Step 3) Cylinder alignment
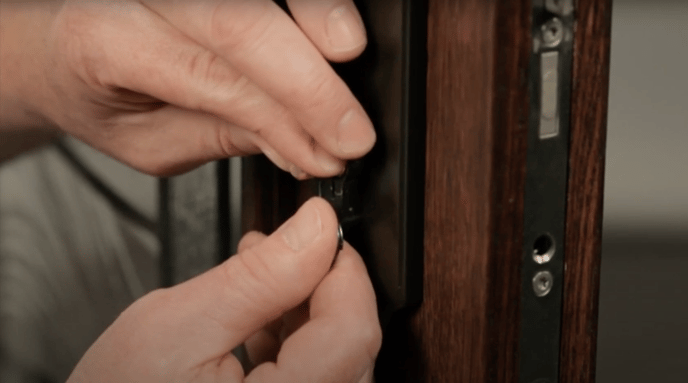
Using the ring wrench (or paper clip) insert into the cylinder lock and pull downward to release the spring tension. Press the cylinder through the back side of the mechanism.
Step 4) Cylinder removal
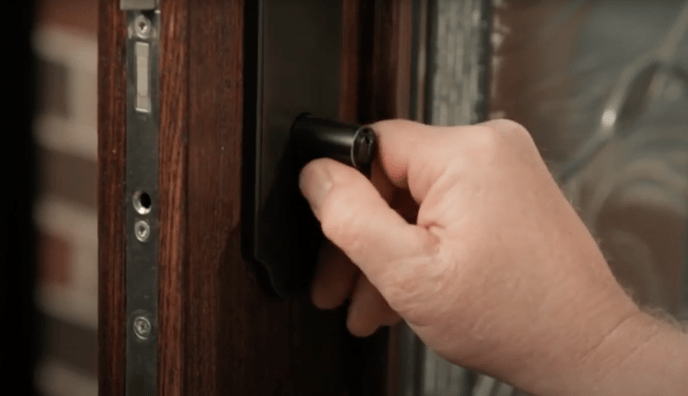
Pull the old cylinder out of the locking mechanism.
Step 5) New cylinder install
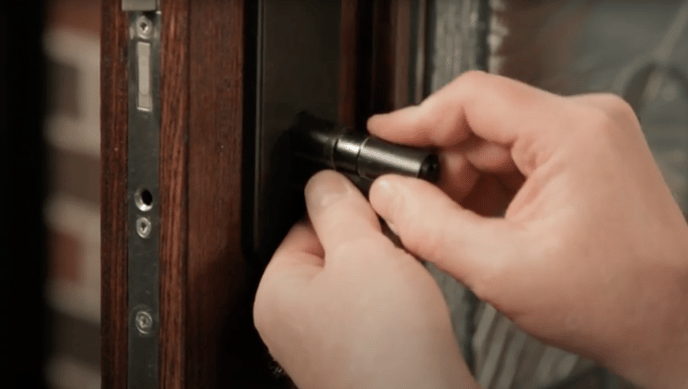
Align the drive tab with the rest of the cylinder assembly and then slide the new cylinder into it's housing.
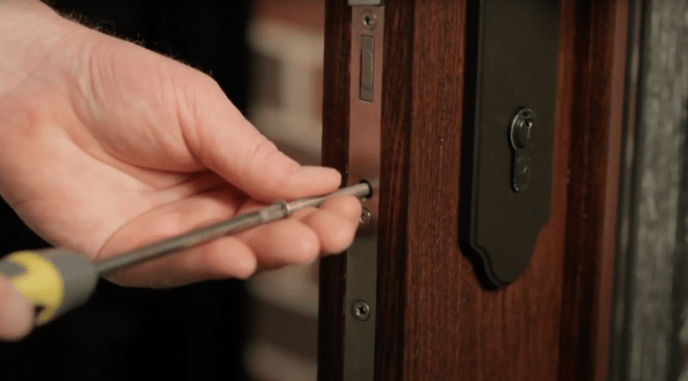
Now is the time to reinstall the cylinder screw.
Step 6) Replacement thumbturn install
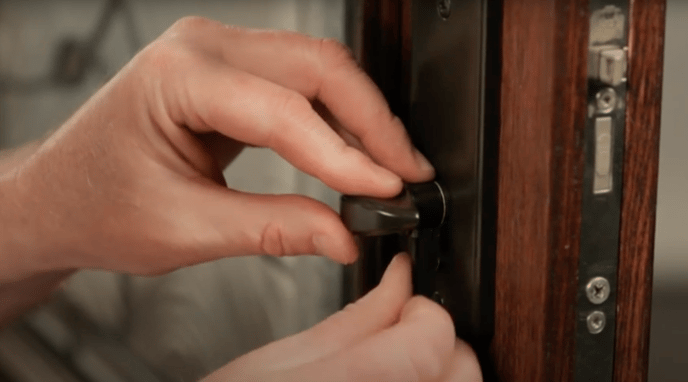
Place the new thumbturn on to the cylinder rod and use an allen wrench to tighten the set screw. The installation is now complete.
