Follow our helpful process here to make your next project a success and keep your door functioning properly for longer.
| Time Required: | Difficulty: |
|
Tools Required
- Safety glasses

- Phillips screwdriver

- Glazing tapes

- Utility knife

- 1/8" drill bit & drill

- Glazing roller

- Cut-resistant 4" safety gloves

- Tack hammer

- Scissors

Materials Required
- Lite-frame & glass
- Door lite frame plug (Buy Now from Therma-Tru)
- Wood blocking
Steps to complete
3) Remove screws from lite frame
8) Apply glazing tape to glass insert
9) Apply glazing tape to exterior lite frame
10) Attach exterior lite frame to glass
11) Insert glass into door slab
12) Attach interior lite frame
Step 1) Remove door from system
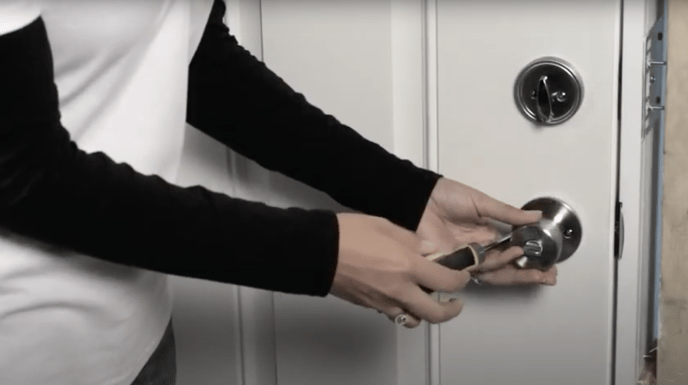
Begin the removal process by removing the handle set from the door with the screwdriver.
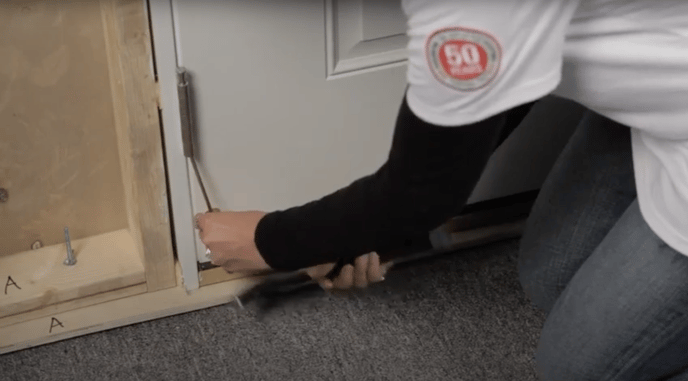
Remove the door from it's hinges by tapping out the hinge pins with the tack hammer.
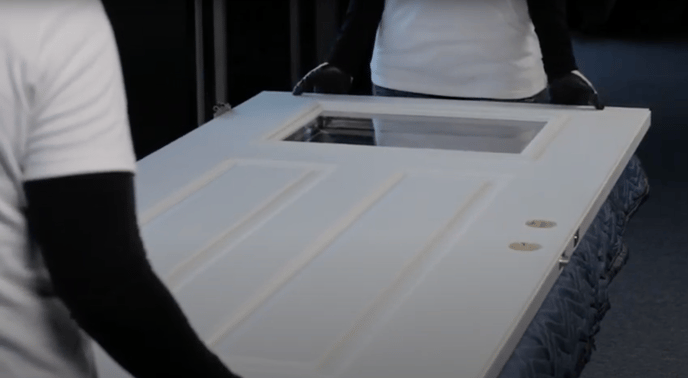
Then, using a partner, lay the door slab with the interior side facing up on a stable flat surface (preferably with some kind of buffer like the blanket shown).
Step 2) Remove frame plugs
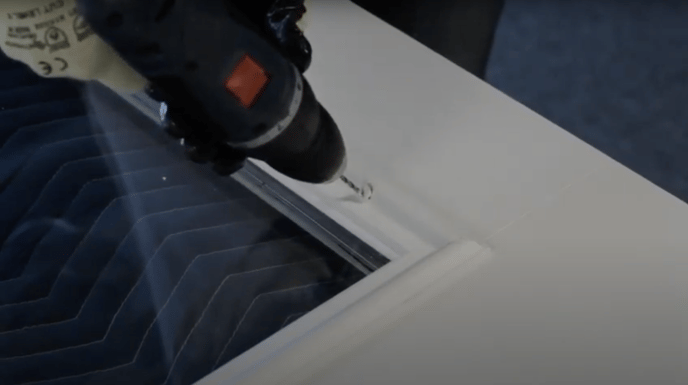 Locate the frame plugs in the lite-frame. Then using the drill, slowly drill into the center of the frame plug until you feel the drill bit hit the screw head. Then pull the drill away to remove the frame plug.
Step 3) Remove screws from lite frame
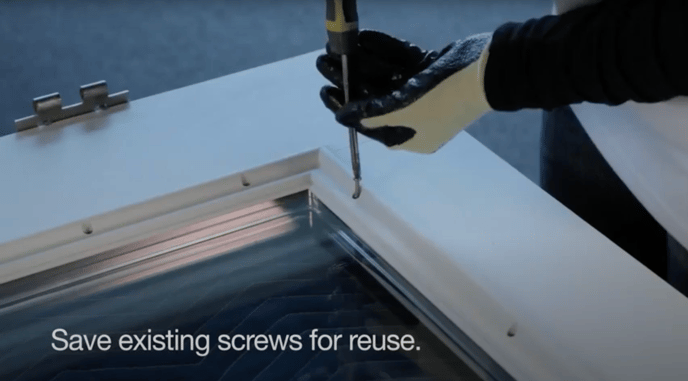
Using the Phillips screwdriver, remove the screws from beneath the frame plugs.
Step 4) Remove interior lite frame
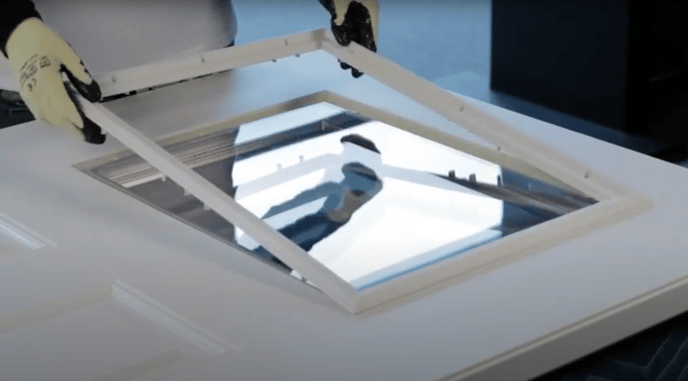
Now that the lite frame is loose, gently pull it up and out of the door slab.
Step 5) Turn door slab over
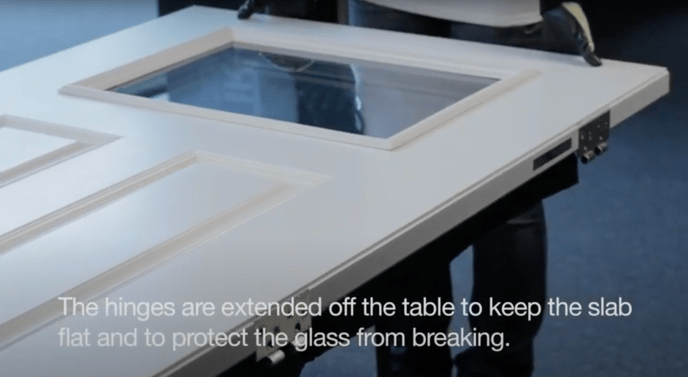
With a partner, turn the door over to the opposite side. Make sure the hinges extend off the edge of the table.
Step 6) Remove exterior lite frame
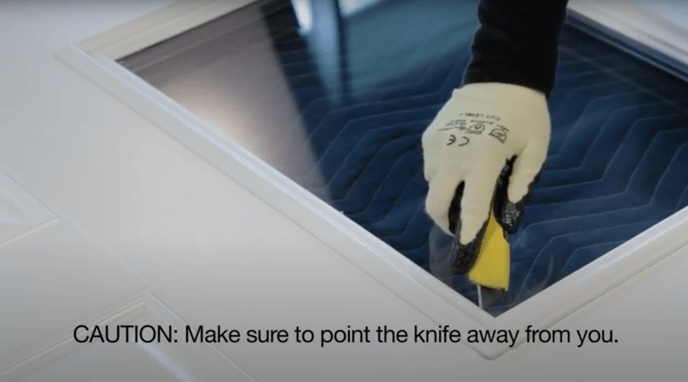
Using the utility knife, carefully slide the knife between the glass and the lite frame.
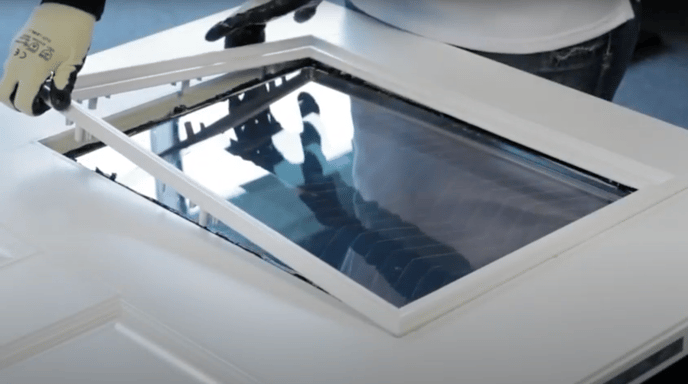
You can now remove the exterior lite frame from the glass.
Step 7) Remove excess glazing
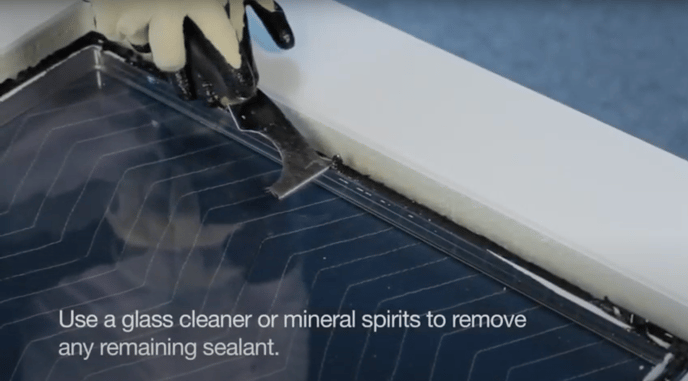
Using a flat edge (in this case a putty knife) remove the glass sealant from the exterior side of the lite frame.
Step 8) Apply glazing tape to glass insert
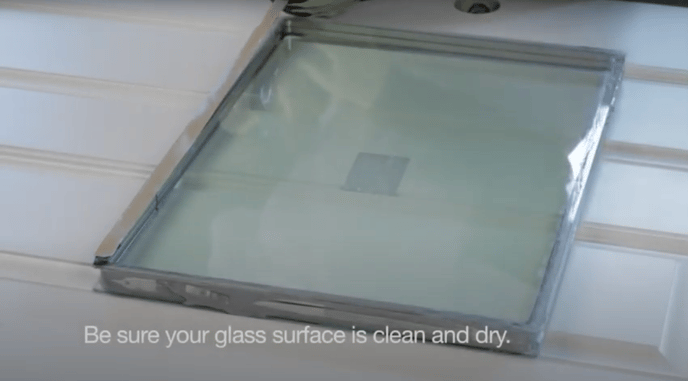
Apply glazing tape along the glass edge ensuring that the tape is totally covering the edge without overlapping, and without stretching.
Step 9) Apply glazing tape to the exterior lite frame
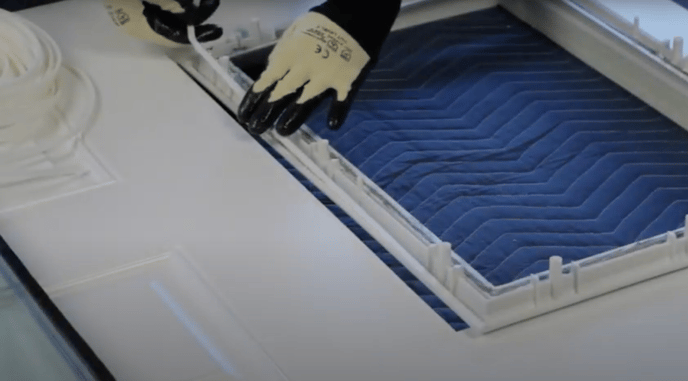
If the glazing tape is damaged, remove it and apply new glazing tape. Be sure to overlap on corners in this case, but again do not stretch.
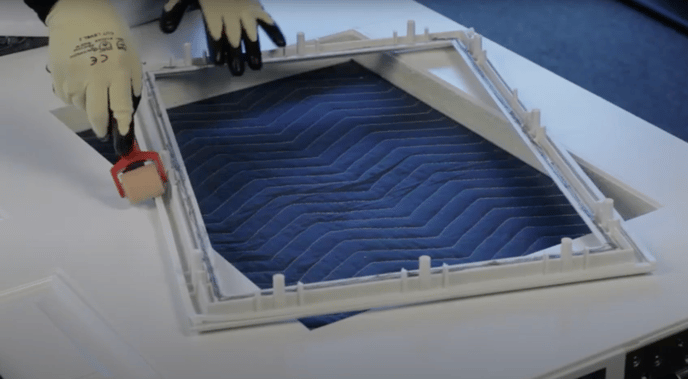
Then, use a roller tool to ensure the tape adheres to the lite frame.
Step 10) Attach exterior lite frame to glass
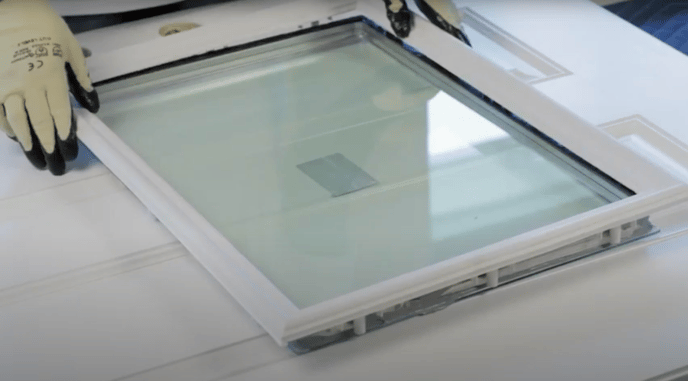
Attach the exterior lite frame to the glass. Press around the edge firmly to ensure a good seal.
Step 11) Insert glass into door slab
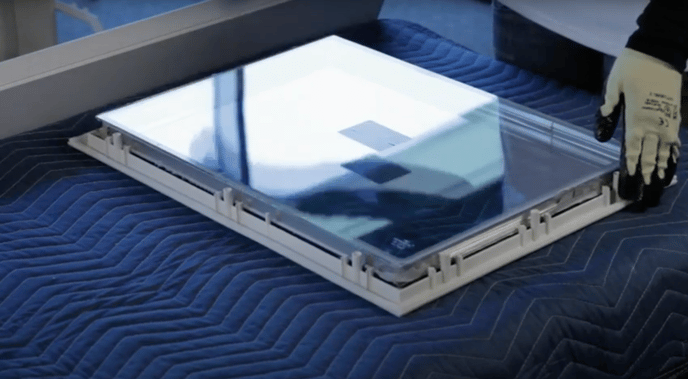
With the door slab off of the table, place the glass lite on to the table with the exterior lite frame side down.
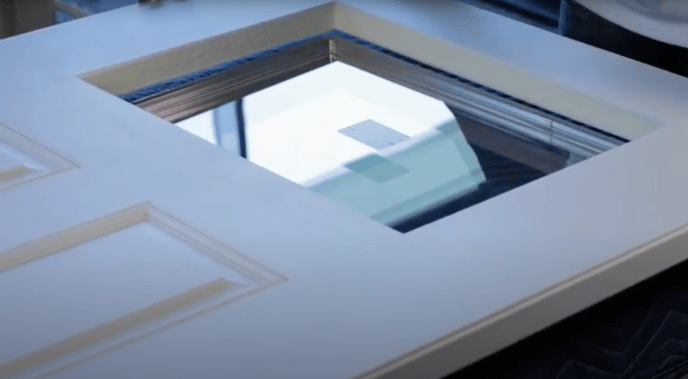
With a partner, lift the door slab (exterior side down) into place over the lite frame and then gently lower into place.
Step 12) Attach interior lite frame
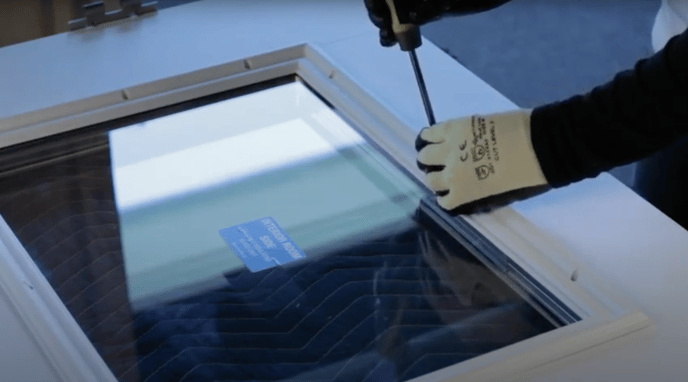
Line up the lite frame with the screw holes then re-install the lite frame screws.
Step 13) Insert door slab back into jamb
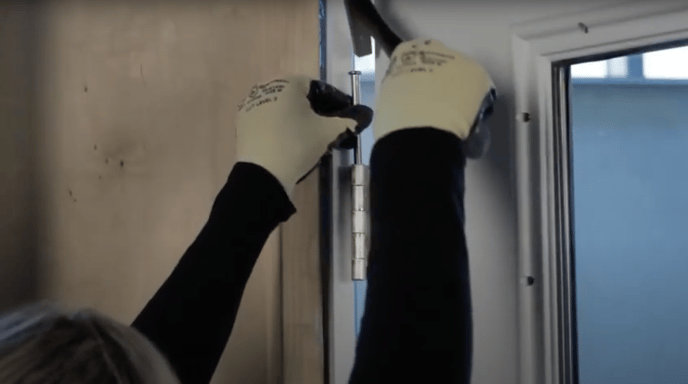
Put the door back on to its hinges and reinstall the hinge pins with the tack hammer, beginning at the top.
Step 14) Install frame plugs
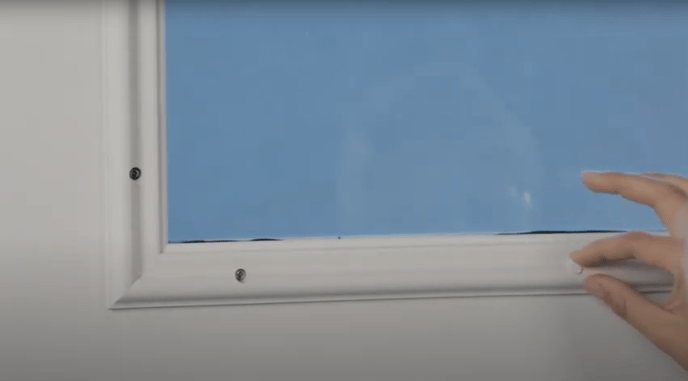
Place the lite frame plugs into the lite frame.
Step 15) Flush plugs with lite frame
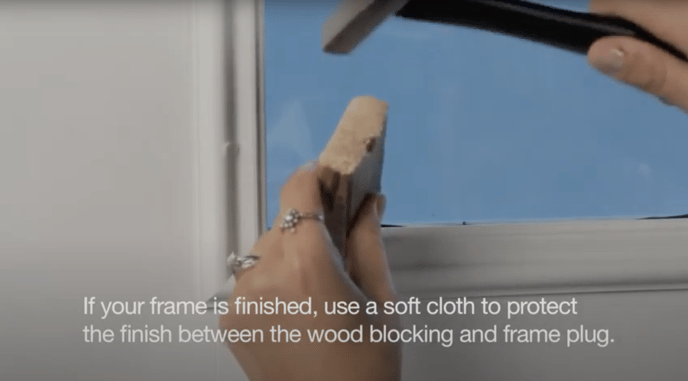
Using a wood blocking, gently tap the frame plugs into place with the tack hammer so the plugs fit flush with the lite frame.

Then lastly, reinstall the handle set. Your lite frame replacement is now complete.
