Tools Required
- Safety glasses

- Elastomeric or polyurethane caulk

- Staple gun & 1/4" x 3/4" staples

- Hammer

- Phillips head screwdriver

- Putty knife

- Pliers

Materials Required
- Door bottom (buy now from the Therma-Tru store)
Steps to complete
1) Remove door slab from hinges
2) Remove existing door bottom
4) Apply sealant to the new door bottom
Step 1) Remove door slab from hinges
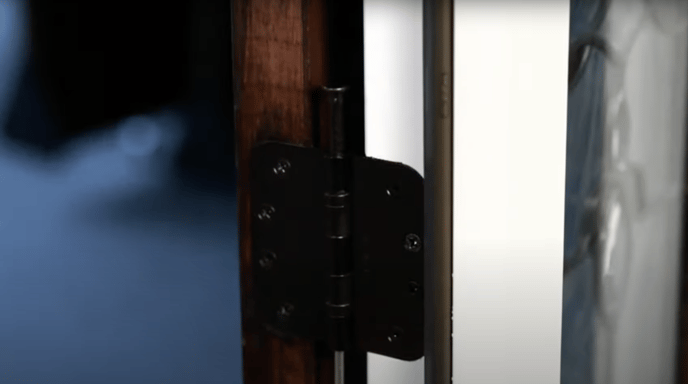
Begin this process by removing the hinge pins from the hinges and removing the door from its place.

We recommend placing the door on a flat surface covered by a blanket or some other barrier to help protect your door from damage.
Step 2) Remove existing door bottom
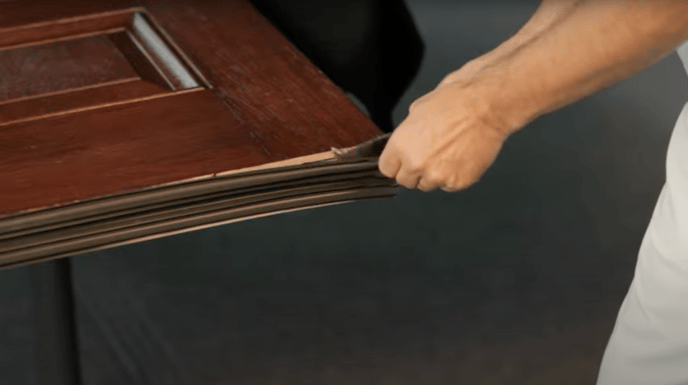
Using the putty knife, pry the door bottom away from the door. Be sure to remove any leftover staples from the door.
Step 3) Clean bottom of door slab

Scrape the bottom edge of the door with the putty knife, removing any excess caulk or stubborn staples from the door.
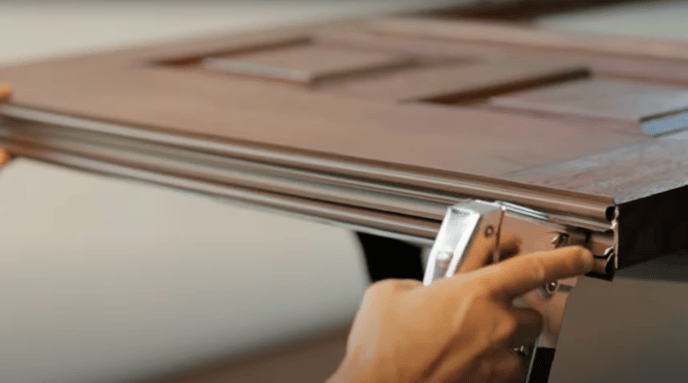
Step 4) Apply sealant to the new door bottom
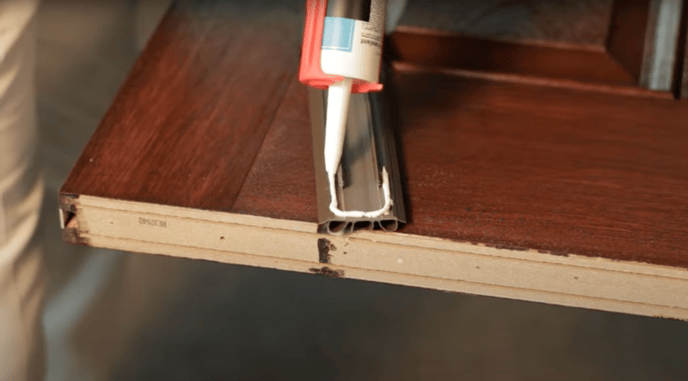
Apply sealant to both ends of the door bottom in the pattern shown above.
Step 5) Install new door bottom to door slab

Press the new door bottom against the bottom edge of the door, working from the outside edges inward.
Next, place a staple on each end of the door bottom. Then place additional staples evenly spaced between the two ends.
Step 6) Rehang door slab

Now, rehang the door on its hinges and reinstall the hinge pins.
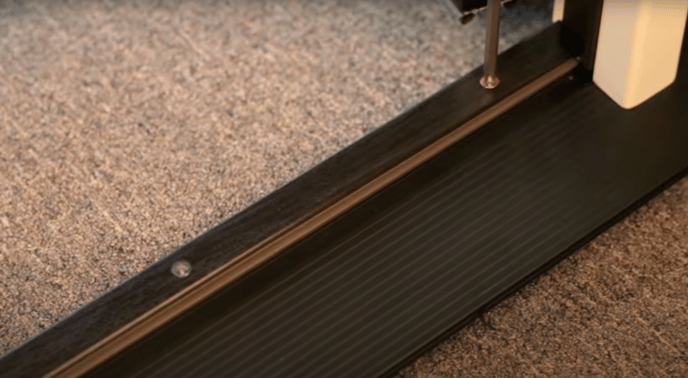
You may need to adjust your threshold to fit the new door bottom. Simply adjust by loosening or tightening the screws on the threshold face pictured here. Once adjusted, your installation is now complete.