Time Required: 24 hours or more Difficulty: Intermediate
| Time Required: | Difficulty: |
Tools Required
- Phillips-head screw driver

- Hammer

- Putty knife

- Pliers

- Painters/masking tape

- Paint brushes

- Nylon bristle brush
- Rags

- Bucket of mild soap & water

Materials Required
- Methylene-chloride based stripper
- Saw horses
Steps to complete
Step 1) Place door on saw horses
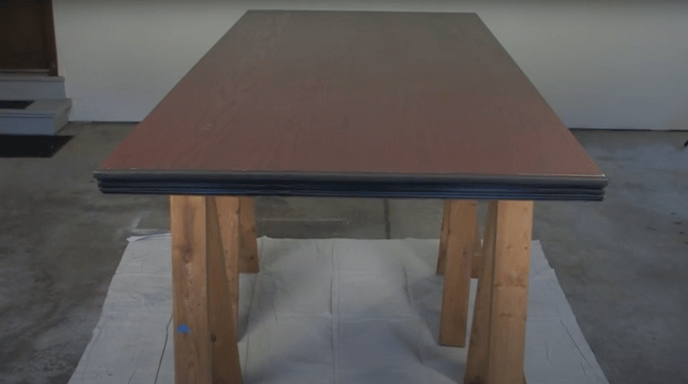
Once your door has been removed from the doorway, place it on top of two saw horses. Be sure to remove any hardware and tape-off any glass if applicable.
NOTE: Hinge-pins cannot be removed from out-swing doors so this process can be done with the door still installed. But be sure to remove the weather strip in this instance.
Step 2) Remove the door sweep
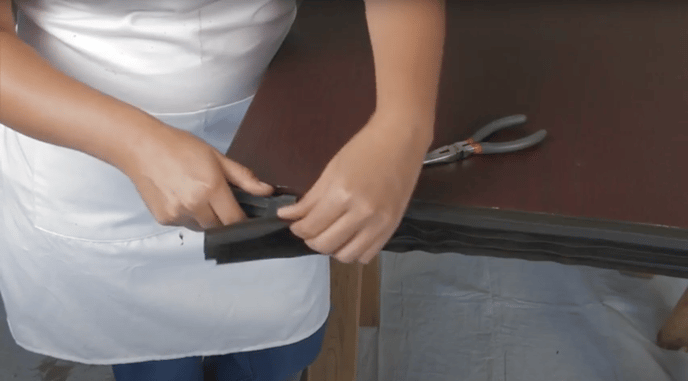
Using the putty knife and pointing away from you, carefully separate the door sweep from the door. Use your pliers to remove any remaining staples.
Step 3) Apply stripping agent
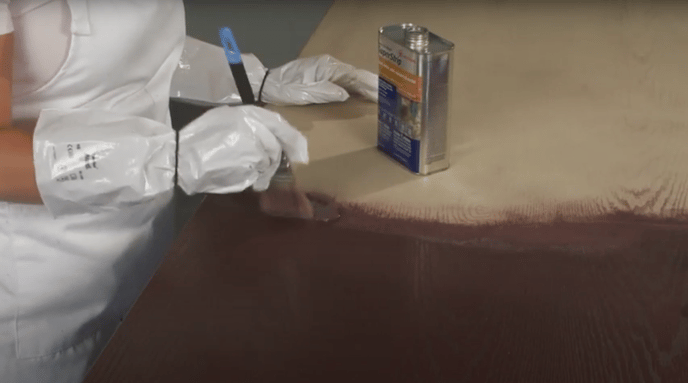
Begin with the glass panels (if applicable), then raised sections of the door, then the rest of the door. In small sections, apply the stripping agent with your paint brush. Gloves are recommended to protect your hands from any harsh chemicals. We recommend that the stripper only be applied to the surface of the door for 2-3 minutes.
Step 4) Remove the finish
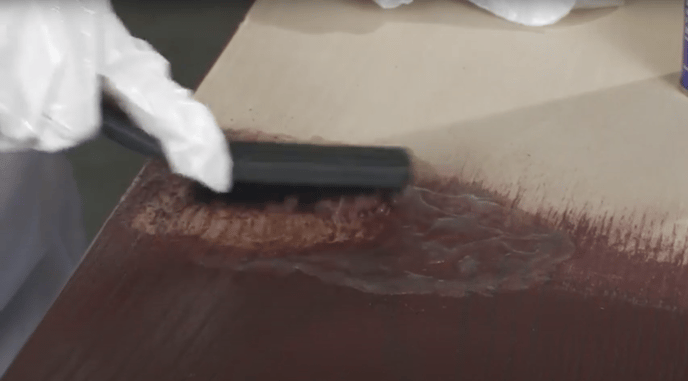
With the nylon brush, rub the stripper into the door surface in a circular motion, loosening up the old finish.
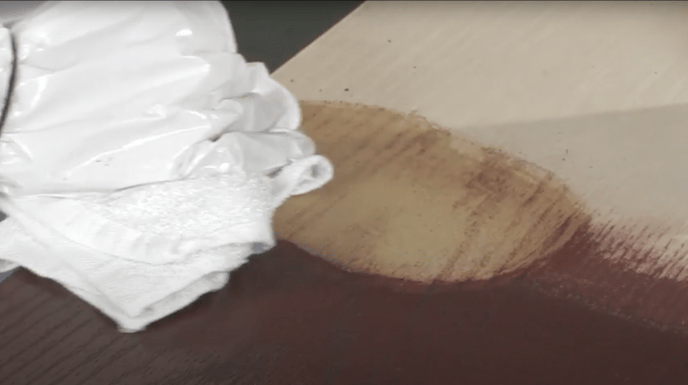
Then, using a clean rag, wipe the stripper and old finish off of the door surface. Repeat this process across the entire surface of the door.
Step 5) Clean the door
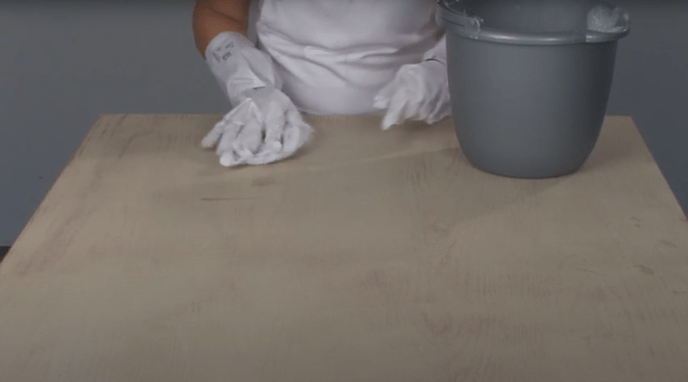
Using mild soap and water, scrub the entirety of the door to remove any left over stripper or stubborn stain. Ensure the surface is totally clean and dry before attempting to re-finish.
NOTE: To see the entire re-finishing process, see our Same-Day Stain article.